 Add Row
  Add
Add 


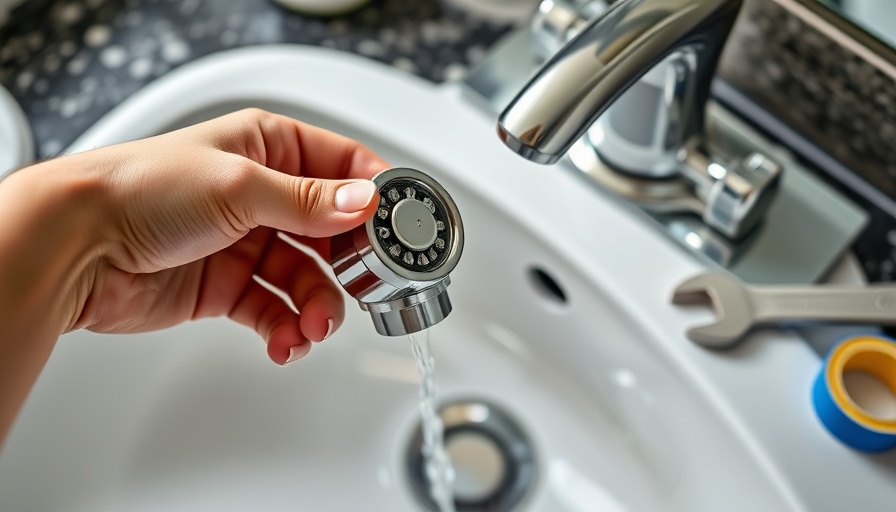
Why Cleaning Your Faucet Aerator is Essential
Do you ever notice a decrease in water flow from your faucet? This common issue may stem from a clogged faucet aerator. While it might seem like a minor household task, knowing how to clean a faucet aerator is an important skill every homeowner should have. Not only does frequent cleaning improve water efficiency, but it also enhances your faucet's lifespan.
Gather Your Tools: A Quick Checklist
Before diving into the cleaning process, make sure you have the following items on hand: a basin or bucket to catch any water spills, a soft scrub brush (a toothbrush works well), and a vinegar solution or CLR solution for tackling any mineral buildup. Having the right tools ensures that your cleaning session is smooth and efficient!
Step-by-Step Guide to Cleaning Your Faucet Aerator
The cleaning process is straightforward and only takes about 15 minutes. Start by checking your faucet's aerator, usually located at the end of the spout. Use a wrench or cloth to unscrew it carefully. Next, soak the aerator parts in your vinegar solution for about 10 minutes. Once you remove them from the solution, use a brush to scrub away any remaining debris, rinse, and reassemble. It's that easy!
Save Money and Water with Regular Maintenance
Did you know that cleaning your faucet aerator can help you save on your water bill? Clogged aerators can waste significant amounts of water, increasing your expenses. By dedicating some time to this small DIY project, you contribute to sustainability efforts and create a more efficient home. It’s a win-win!
Final Thoughts: Making Your Home Better
Taking care of the little aspects of your home, like faucet aerators, not only promotes efficient water usage but also enriches your living environment. Embrace the sense of accomplishment that comes from maintaining your space. Share this knowledge with friends or family members—they may appreciate your newfound skills!


 Add Row
  Add
Add 
Write A Comment